


Editing events
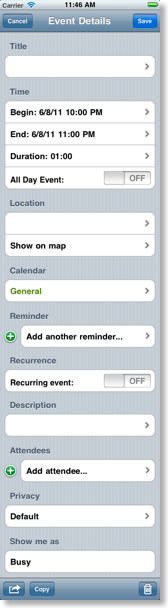
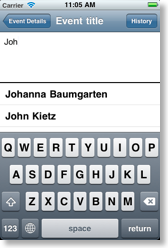
When entering the title CalenGoo can automatically search for matching contacts or it can parse the time from your title if you enter e.g. "Meeting with John tomorrow at 5".
Sending invitations to attendees
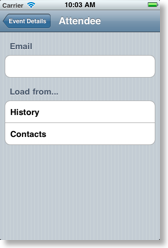
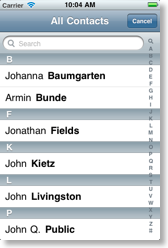
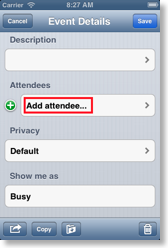
If you like you can add attendees to your events. They will get an invitation email from Google with links to accept or decline the event. (This email is sent by Google Calendar, not by CalenGoo or GMail, so it won’t appear in your GMail account.) Afterward you can see their response in the detail view of the event. To invite attendees, please scroll down in the edit view and tap “Add attendee...”. Then you can either enter an email address manually, choose one from the history of last used attendees or choose one of your contacts.: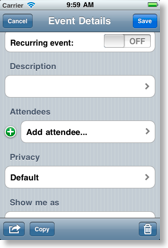
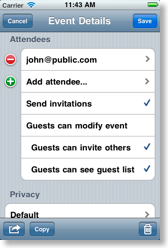
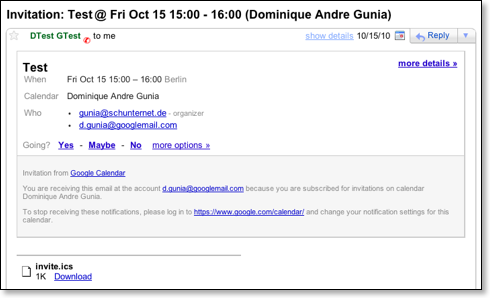
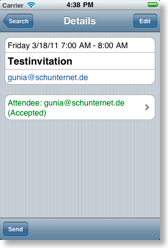
When you have added attendees to an event, you can specify if you would like to send an invitation email to them. To do this simply check “Send invitations”. The attendees will get an email with links to respond “Yes”, “Maybe” or “No” to the invitation:
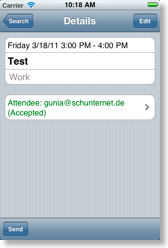
The next time you sync after the recipient has responded, the response is downloaded. If you open the event in detail view, you can see the response:
Problems with invitation emails
However if the recipient does not get the invitation email, there may be two reasons:- The recipient’s spam filter has filtered this email, so please check the spam folder.
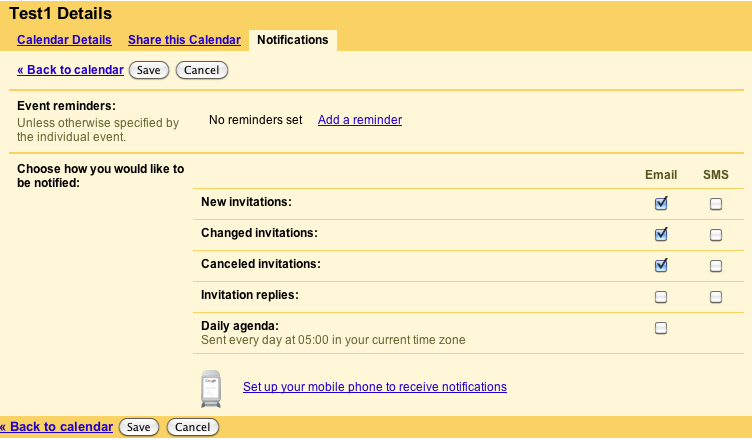
- The recipient has configured Google Calendar (intentionally or accidentally) so that he does not get invitation emails if other people invite him. So please ask the recipient to sign in to Google Calendar and click “Settings”, “Calendar settings”, “Calendars” (tab) and then click “Notifications” behind his first calendar’s name (the calendar where the invitation events are automatically added). In this screen:
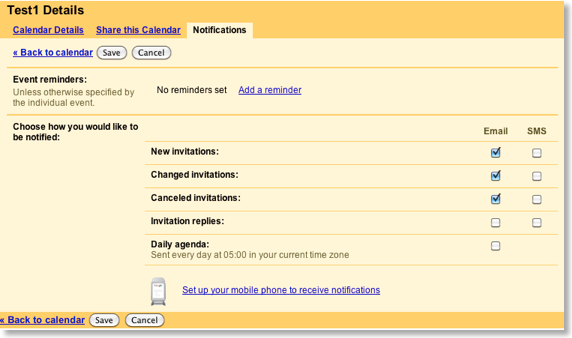
the recipient has to check “Email” in the rows “New invitations”, “Changed invitations” and “Canceled invitations” to get an email when he gets an invitation from someone else. This applys only to recipients that have a Google Calendar account. Others will automatically get invitation emails.
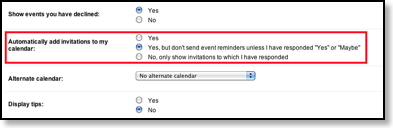
And if the event is not automatically added to the recipient’s calendar, the recipient probably turned that off. To turn it on, he has to click the gear icon in the upper right corner of the Google Calendar website, then “Calendar settings”, “General”. There he can choose under “Automatically add invitations to my calendar” what should happen with new invitations:
Responding to an invitation
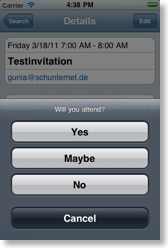
If you got an invitation and would like to respond, you can do this from within CalenGoo. Just open the event in detail view and tap your name in the attendee list. You can also change your response this way: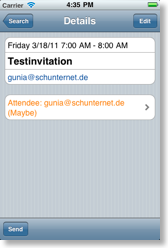
If "Add attendee..." is missing
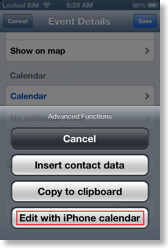
If you cannot find the "Add attendee..." button in the edit view, then you didn’t select a Google calendar for that event. Only events that are saved into a directly synced Google Calendar can have attendees. One reason is that the invitations are sent by Google Calendar. So currently CalenGoo cannot add attendees to iOS events and events of local calendars.However there is a workaround for iOS events: The reason why the "Add attendee..." button doesn’t appear for iOS events is that Apple hasn’t provided a way to programmatically add attendees to iOS events yet. The only way to add attendees is via the iOS calendar or at least the iOS calendar’s edit screen. For this purpose you can open the iOS calendar’s edit screen directly from CalenGoo’s edit screen: Just tap the action button in the lower left corner and choose "Edit with iPhone/iPad/iPod touch calendar". There you can add attendees to your iOS events.
Finding an attendee in your contacts
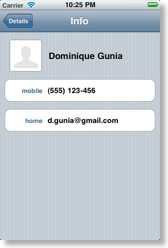
You can tap an attendee’s name in the detail screen to open that contact (it will search for that email address in your contacts):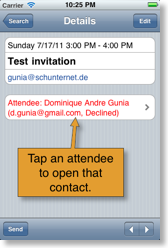
Scheduling an appointment with a contact
If you have an appointment with someone that is already in your iPhone/iPod/iPad’s contacts you can copy the contact’s data into a new event. Just turn “Settings > Display and Use > Edit view > Advanced > Auto search contacts in title editor” on to use CalenGoo’s automatic contact search. Then create a new event (e.g. by double tapping a free space in the day view) and start typing the name of the person:You can select the person and link it to the contact. This way you can see all the contact’s details in the detail view of the event and you can even open the contact from the event.
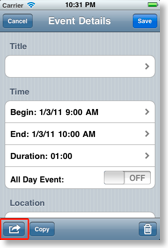
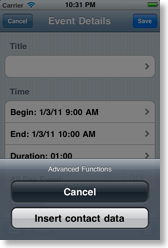
Another option is to use the "Insert contact data" function: Create a new event (e.g. by double tapping a free space in the day view) and tap the “action” button in the lower left corner of the edit view. Choose “Insert contact data” and then “Replace content”:
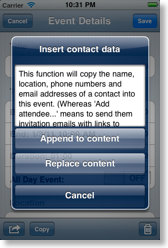
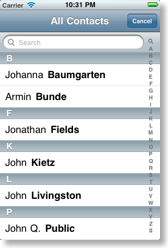
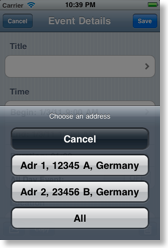
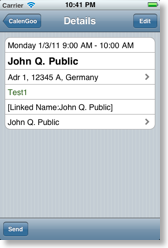
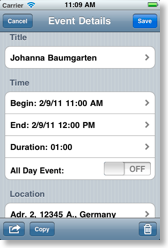
Now choose a contact from your iPhone/iPod/iPad’s contacts. If it has more than one address, you can choose which address should be used. Afterward the name of the selected contact is copied into the title field, the address into the location field and phone numbers and email addresses are copied into the description field of the event.
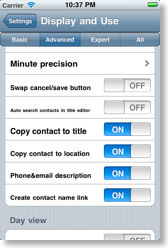
In CalenGoo’s settings you can configure if you want to copy all fields in the described way or only some of them:
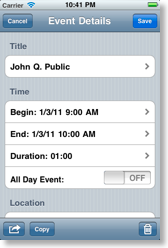
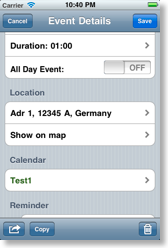
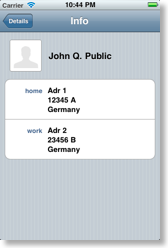
Later you can use the event’s detail view to open the address in Google Maps (tap the location row), call or text a phone number (ensure that “Settings”, “Display and Use”, “Detail view”, “Phone numbers” is turned on for the phone numbers detection) or tap the name in the last row to open the iPhone’s view of this contact including all further details:
As already mentioned above, another function to make choosing contacts simpler is to turn “Settings > Display and Use > Edit view > Advanced > Auto search contacts in title editor” on. Then you can simply start typing the name of a contact in the title of an event and you will get a list of matching names:
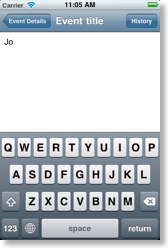
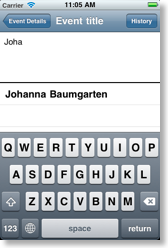

Choose one of the names to copy the name, address, phone numbers and email addresses into the event. If you don’t choose a name, you can simply continue to type the title and the list will disappear when no matching results are found or when you start typing the second word of the title.
It is also possible to manually link contacts to events, e.g. when entering an event on the Google Calendar website. Just write "[Linked Name:Firstname Lastname]" into the description field of the event. But it is important that "Firstname Lastname" exactly matches iOS’ "display name" of the contact.
Linking further contacts
After you have linked a first contact to an event as explained above, a new section appears that allows you to link further contacts to the event: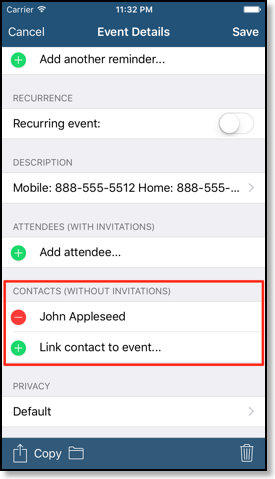
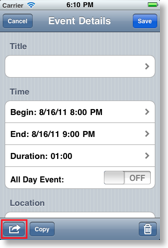
Copying events
There are several ways to copy events in CalenGoo:1. By tapping the “Copy” button in the edit view. This will create an independent copy of your event. Change the start time and whatever you want to change and then save the event:


2. By tapping the “action” button in the edit view and choosing “Copy to clipboard”.
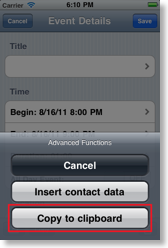
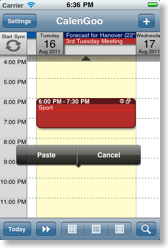
Then you can paste the event at a later time into a new event:
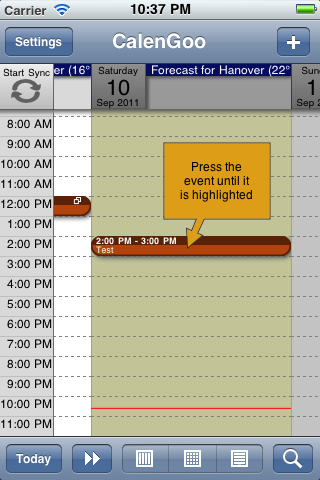
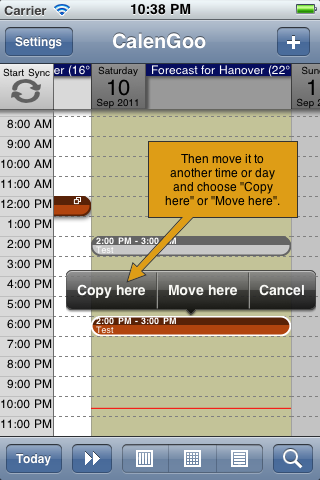
3. By using the drag&drop functions. Just press an event until it is highlighted, then move it to a different time or day and choose copy:
If you turn “Settings”, “Display and Use”, “Advanced”, “General”, “Drag&drop clipboard” on
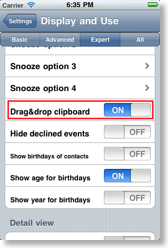
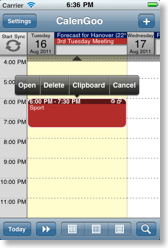
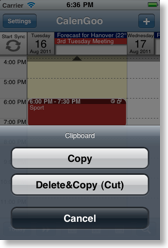
you will get a new menu entry “Clipboard” during drag&drop operations that you can use to copy or delete© the event:
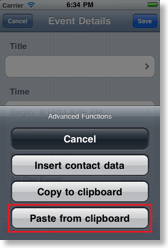
Afterward you can long press an empty space to paste the event from the clipboard to that position:
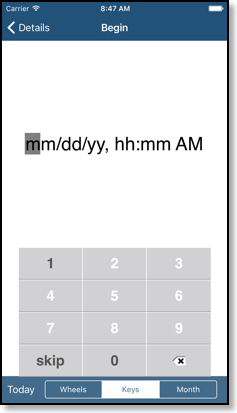
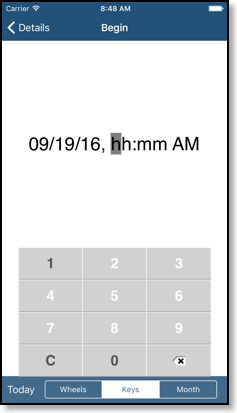
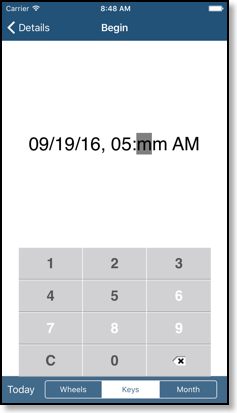
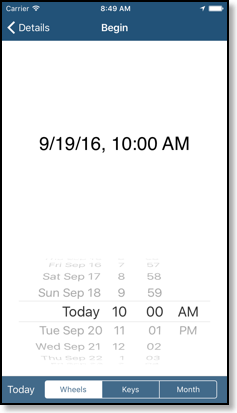
Entering times
In CalenGoo you have two options to enter a time. Either using the normal time wheels or by using a keypad. You can switch between both by using the “Wheels” and “Keys” buttons at the bottom. The keypad automatically highlights which keys can be tapped. Using the “skip” button you can skip the date to only enter the time.
Depending on the minute precision setting under “Settings > Display and Use > Edit view > Advanced > Minute precision” (where you can choose between 1 minute, 5 minutes or 15 minutes) the wheels will use different time steps:
Entering a location
By tapping the location field you can enter a location. When entering a location you have three options:- You can just enter it manually. I.e. you can enter any text you want.
- You can choose from a list of previously used locations by tapping the "History" button in the upper right corner.
- Or you can use the search function. Then CalenGoo will search the entered location in the addresses of your contact and in nearby places. So by just typing a few letters you can search for a matching address and select it. To activate the search function tap the magnifying glass icon at the top or the "Search" button (depending on which version of CalenGoo you use).
